Backfocus
Before you start checking your lenses, be sure that the backfocus on the camera sensor/film plane is accurately set. If all the lenses you test are “off,” chances are good the problem is actually the camera’s backfocus.
Lens Performance
To assess the performance of lenses, you have several objectives. Ensure proper focusing according to measurements and lens markings, check for optical defects and check for mechanical defects. It’s slightly tedious and very detailed, but if you’re anything like me, it’s really fun. (Disclaimer: I’m a camera nerd so my definition of fun is likely skewed).
To begin:
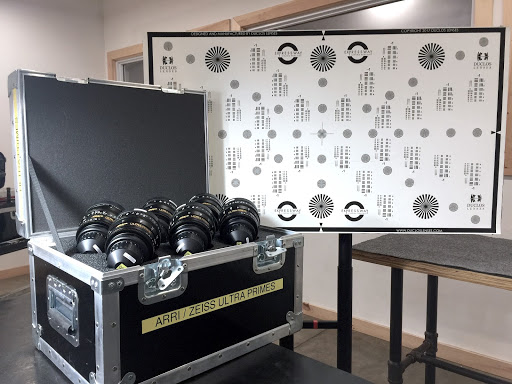
Set up the camera on a tripod head on a checkout pedestal or tripod. Ensure that the camera is entirely perpendicular with a focus chart, the height of the center of the chart matches the height of the lens’ optical center, the head is level, and the tilt on the head is flat.
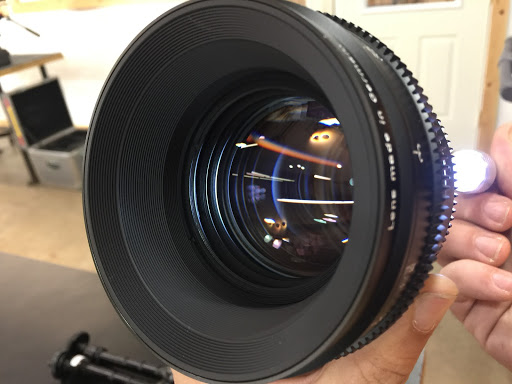
With the lenses unmounted, check for optical defects. Set each lens to wide open aperture and infinity focus, and shine a flashlight through the rear element of the lens. Notate any defects you notice, flip the lens around and repeat, shining from the front and looking at the back. Some dust, bubbles and small scratches are acceptable and found in almost any lens and won’t affect image quality, but use your judgment and look for anything more than negligible damage.
Check the physical condition of the lens and notate any issues. All rings (Focus, Iris, and Zoom) should rotate smoothly and quietly, and nothing should be rattling inside or loose.
Mount the widest lens you have to your camera and set it to wide open aperture.
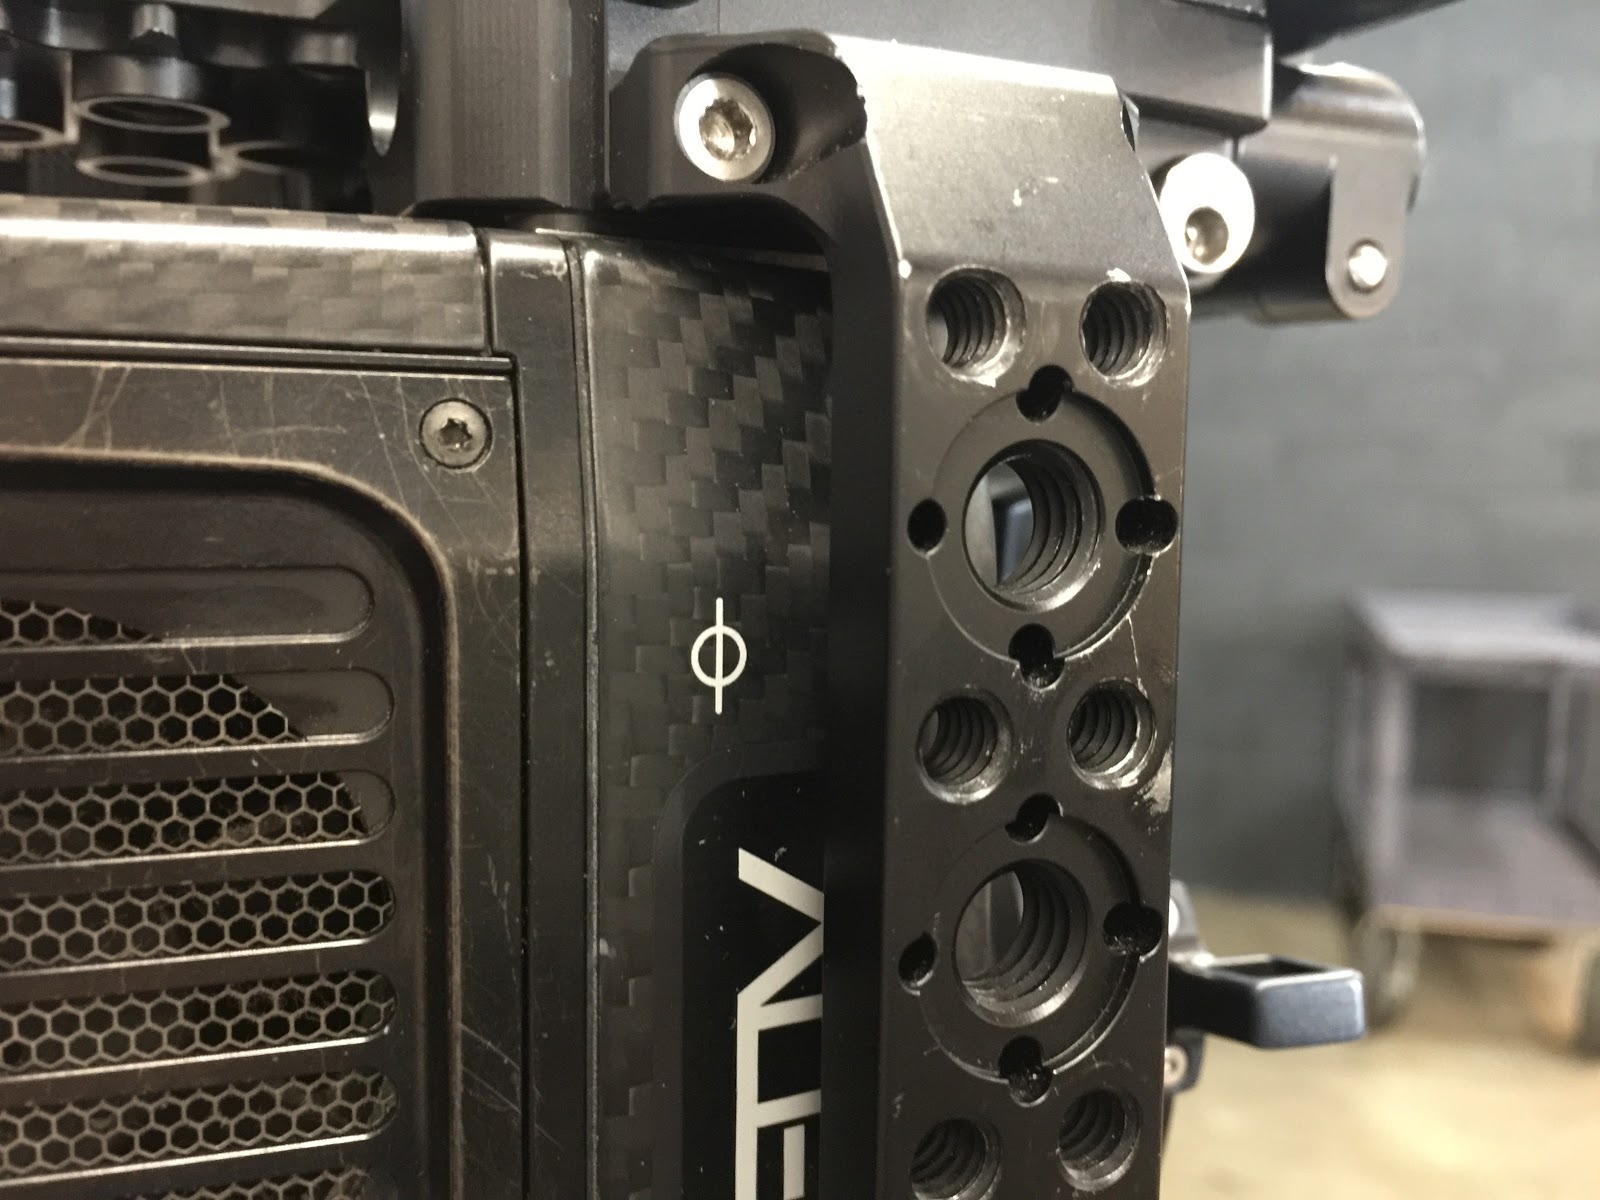
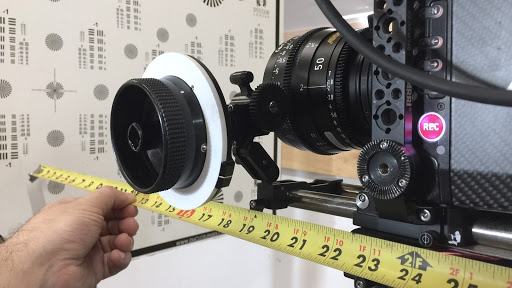
Find the close focus marking on your lens barrel and set the camera chart precisely that distance away from the sensor/film plane. (Distinguished by a small circle with a vertical line through it)
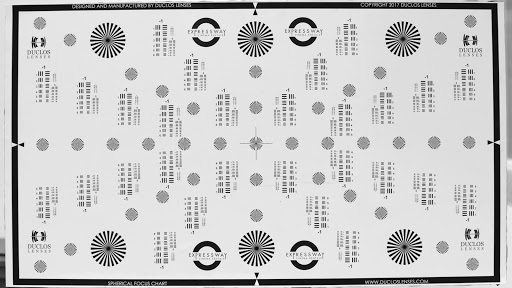
Focus by eye on the chart’s center Siemens star, and check that the marking where your lens barrel lands matches the measured distance exactly.
Look at the sets of short parallel vertical and horizontal lines (line-pairs). Ensure that your lens is resolving the same number of line-pairs at all four corners of the frame and in the center. If there is a discrepancy and the lens is resolving higher at one spot in the frame than another, this is called field curvature. Speaking practically, if you’re dealing with vintage lenses or budget lenses, this may be unavoidable (or even desired), but should be noted.
Do this at multiple distances for each lens, being sure to check distances from close to infinity (be aware you may have to go outside to check infinity, so bring ample sunscreen).
Check for vignetting at multiple apertures, being sure to put the camera into the resolution/sensor crop you will be using during the shoot.
If you’re using a zoom lens, check all of these things at multiple focal lengths along the zoom range to ensure performance is good from wide to telephoto.
At this point in the process, you are exhausted and probably kind of sick of lenses, but you are prepared! Make sure to give the DP a ring while you are checking out and bring up any issues/characteristics of the lenses you’ve noticed along the way. This gesture will be appreciated.