The following is simple beginner’s crash course on the very basics of using Shotput Pro to safely and properly copy camera data from a card to hard drives.
Set Up to Download
At the beginning of the day, before any footage is shot, set up your computer for downloading.
Using a hub if necessary, plug in your card reader, master drive, and backup drive.
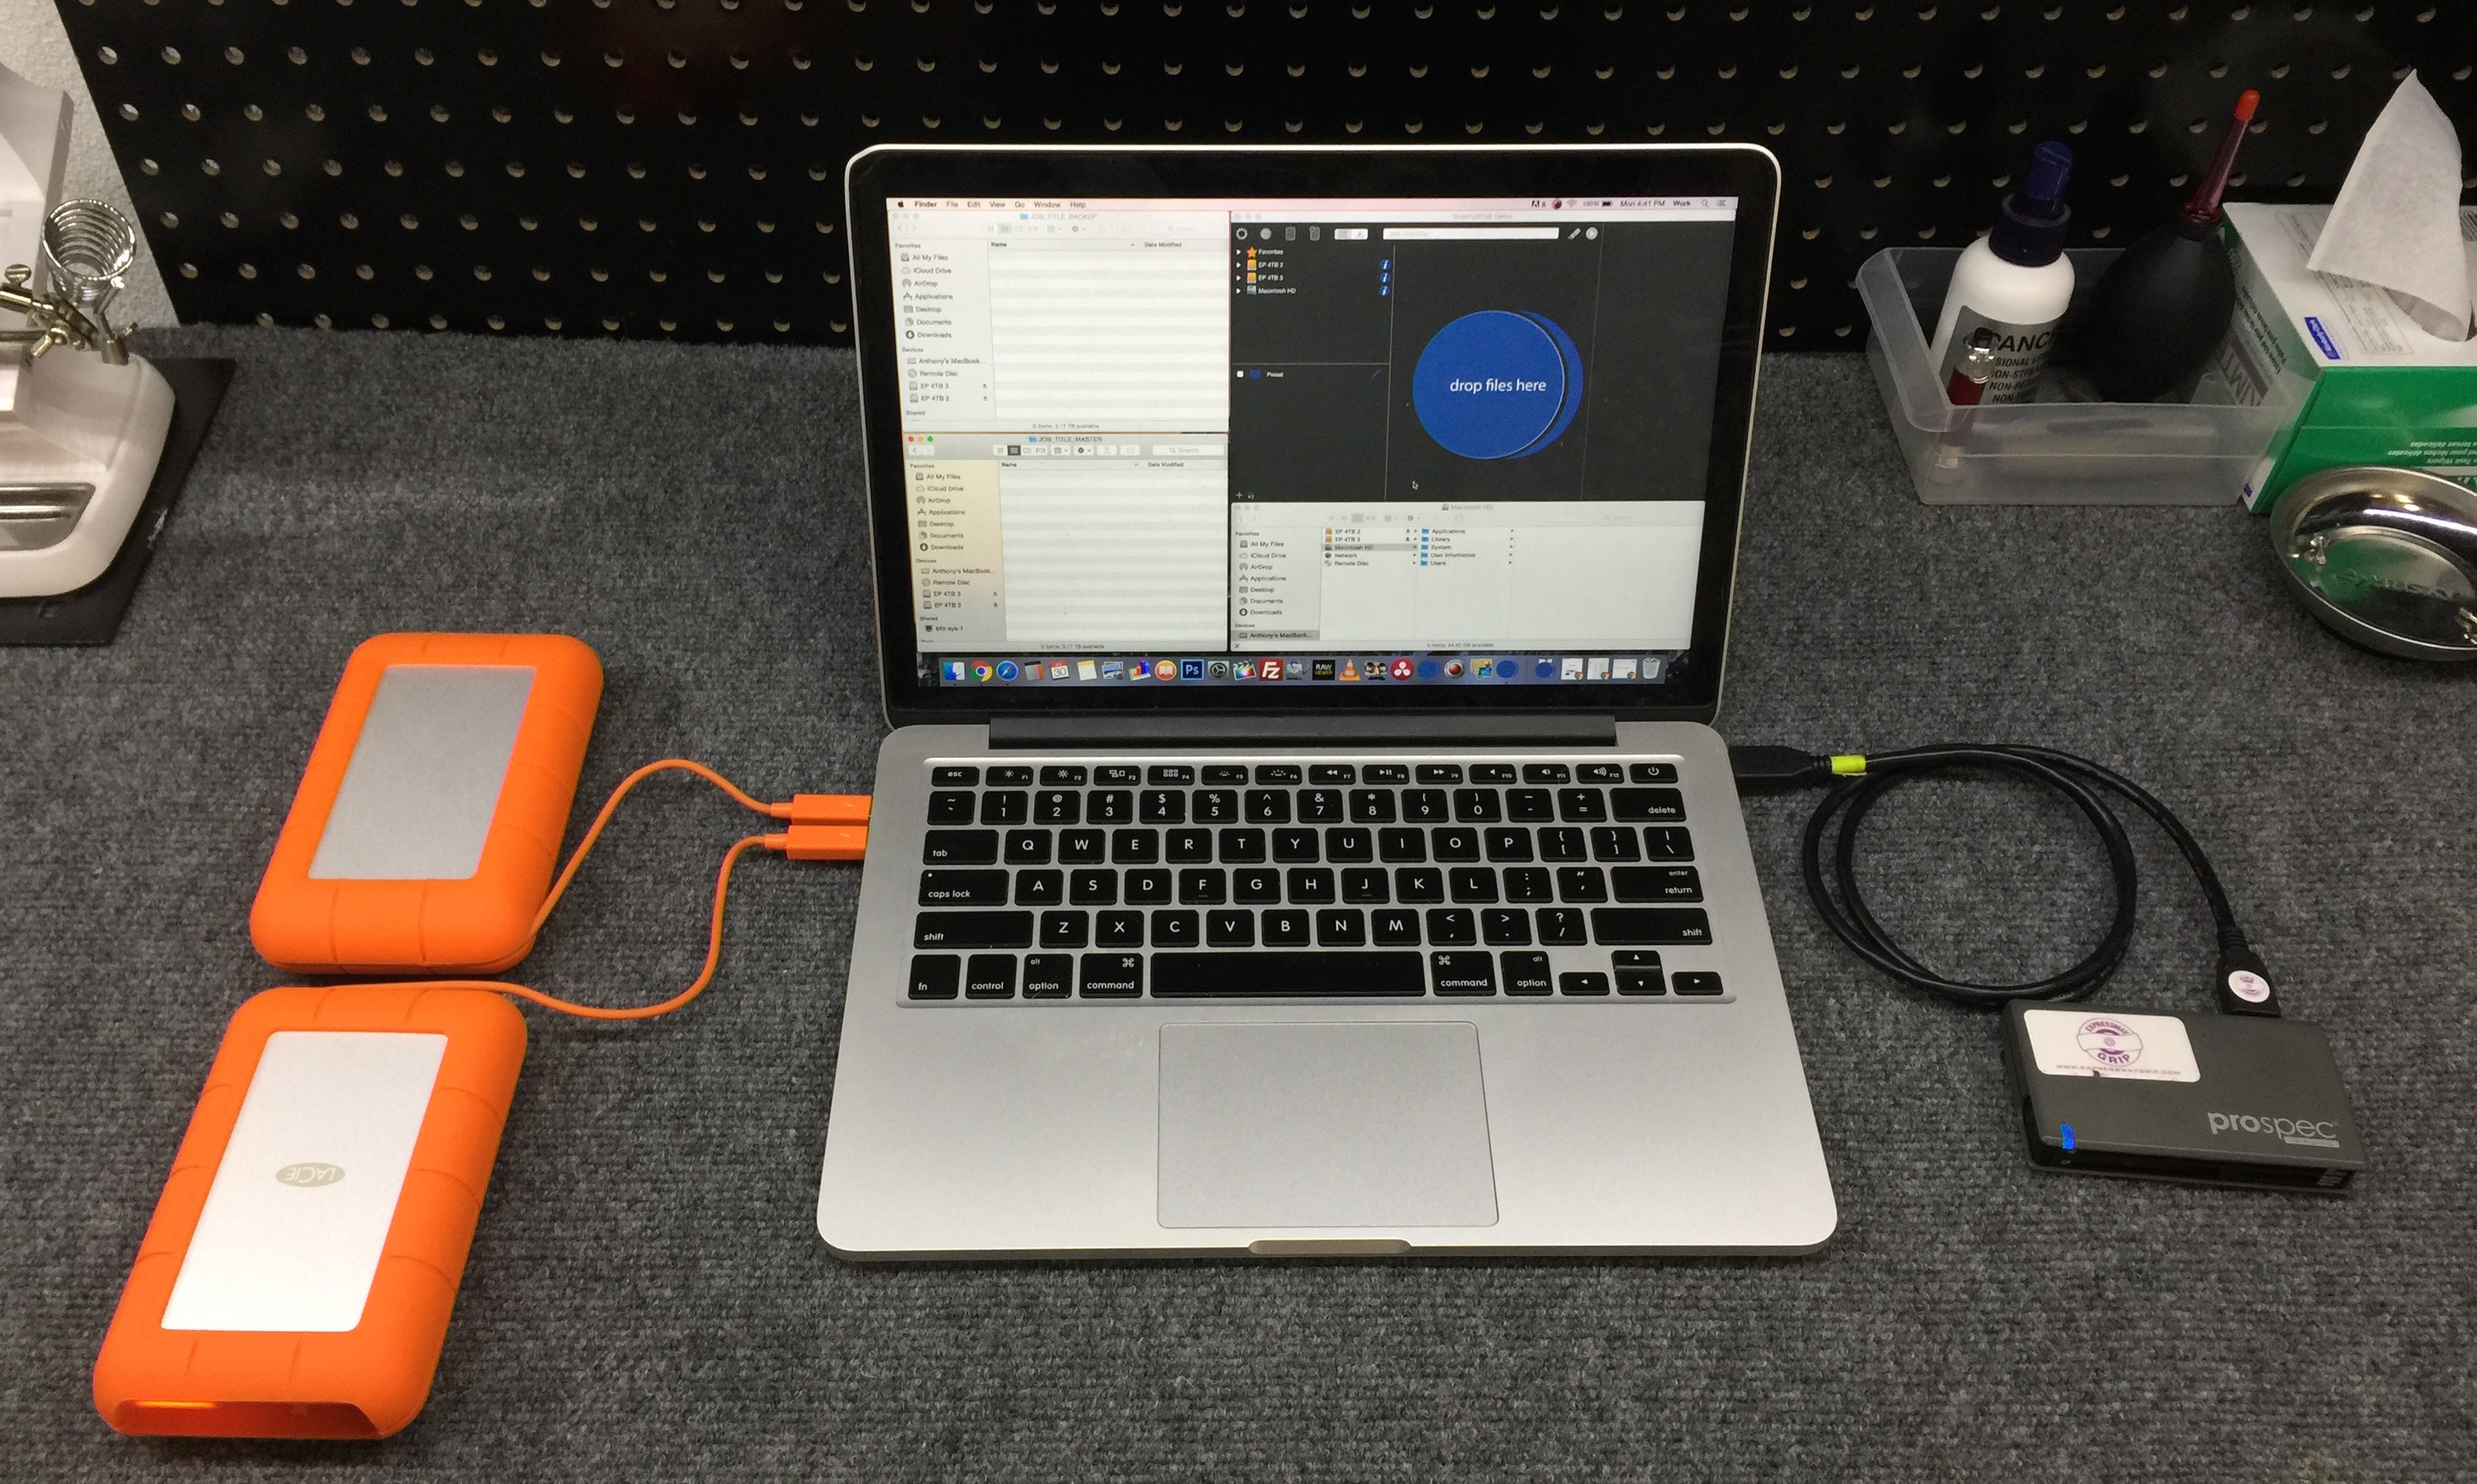
Label your two separate drives in Finder
JOB_TITLE_MASTER
JOB_TITLE_BACKUP
Create a folder for the day on the master drive in the MMDDYYYY format. In that folder, make a folder for each camera working on that day in this format – (CAM_A, CAM_B, etc).
On a basic level, the way ShotPut Pro works is you point it to a file destination and it puts the footage where you tell it. To do this, you make presets for each camera and set it to number the folders it creates sequentially.
Camera Presets in ShotPut Pro 6
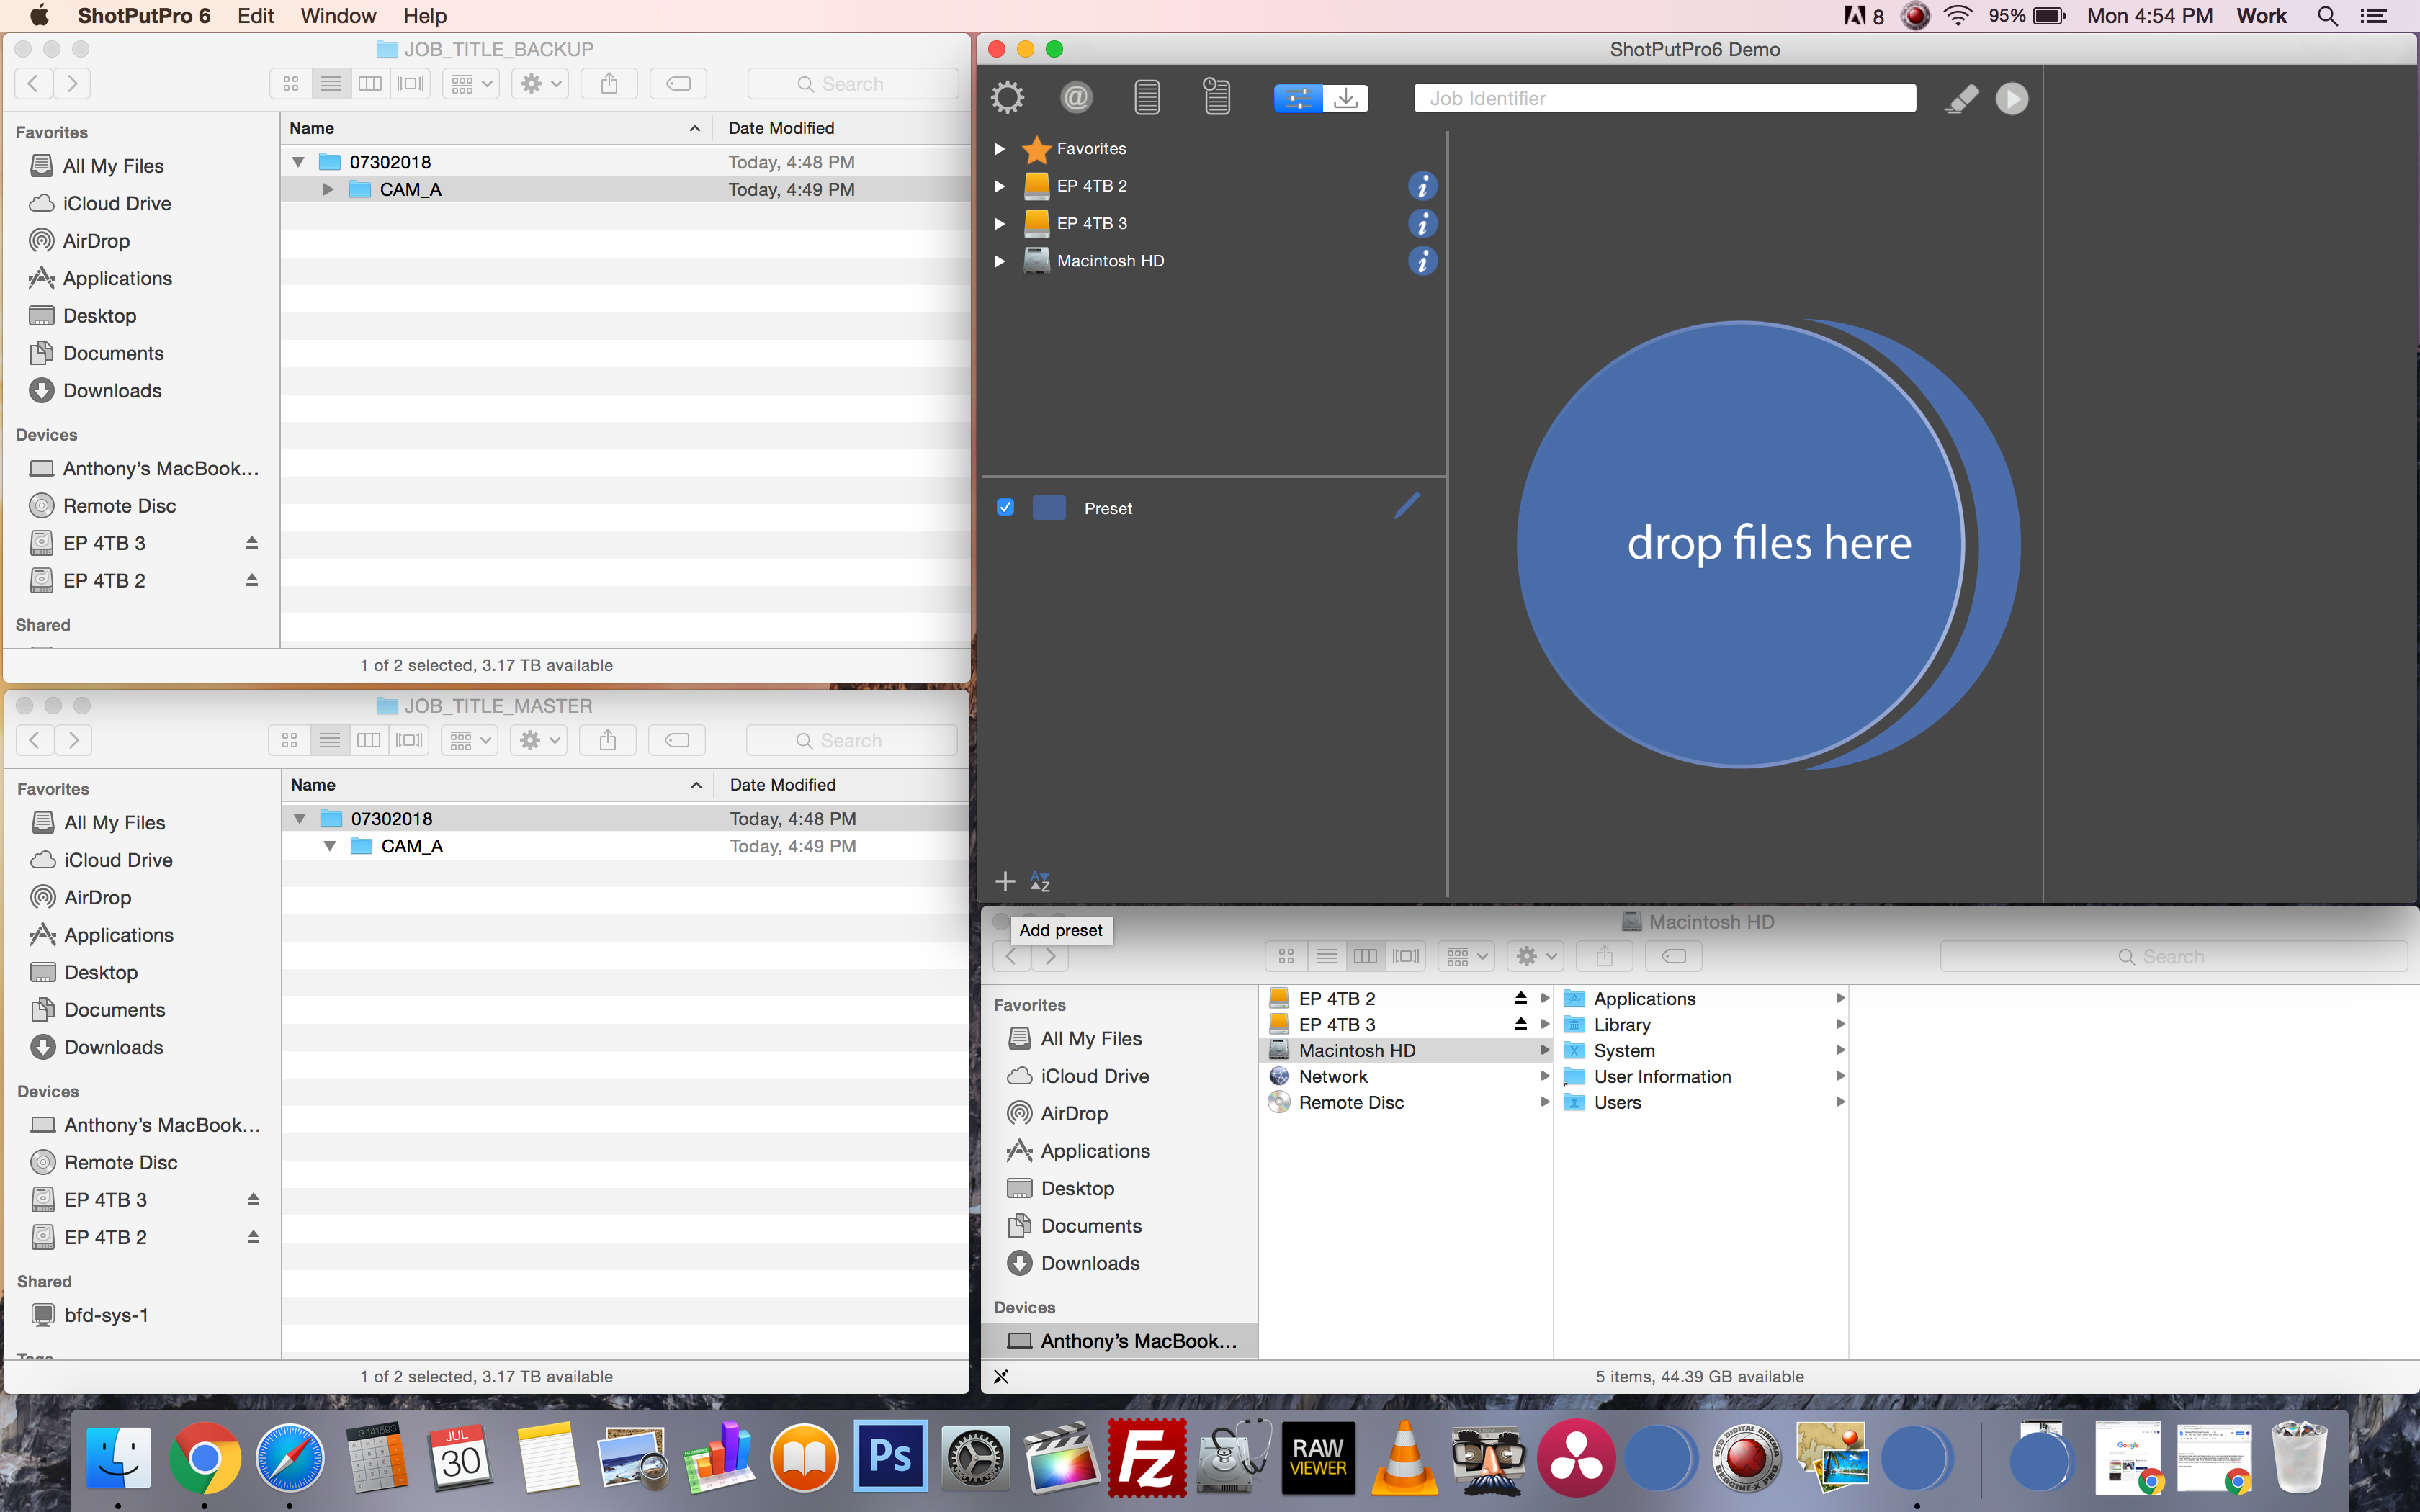
- – To create a preset, open ShotPut Pro.
- – In the bottom left window, there will be a “+” icon. Click on it and a box will show up.
Name the preset “CAM_A” - – Select “Basic Folder Naming” and “Auto Numbering”
- – For “Starting Value”, select “1”
- – For “Minimum Digits” select “2” (unless you are on a feature, or a long term project, in which case select “3”).
- – The preview should read “A_01” or “A_001”.
Once your labels and settings are verified correct it’s time to tell ShotPut Pro where to put the footage by setting destinations. It will copy footage to each destination simultaneously and identically.
Setting Destinations in ShotPut Pro 6
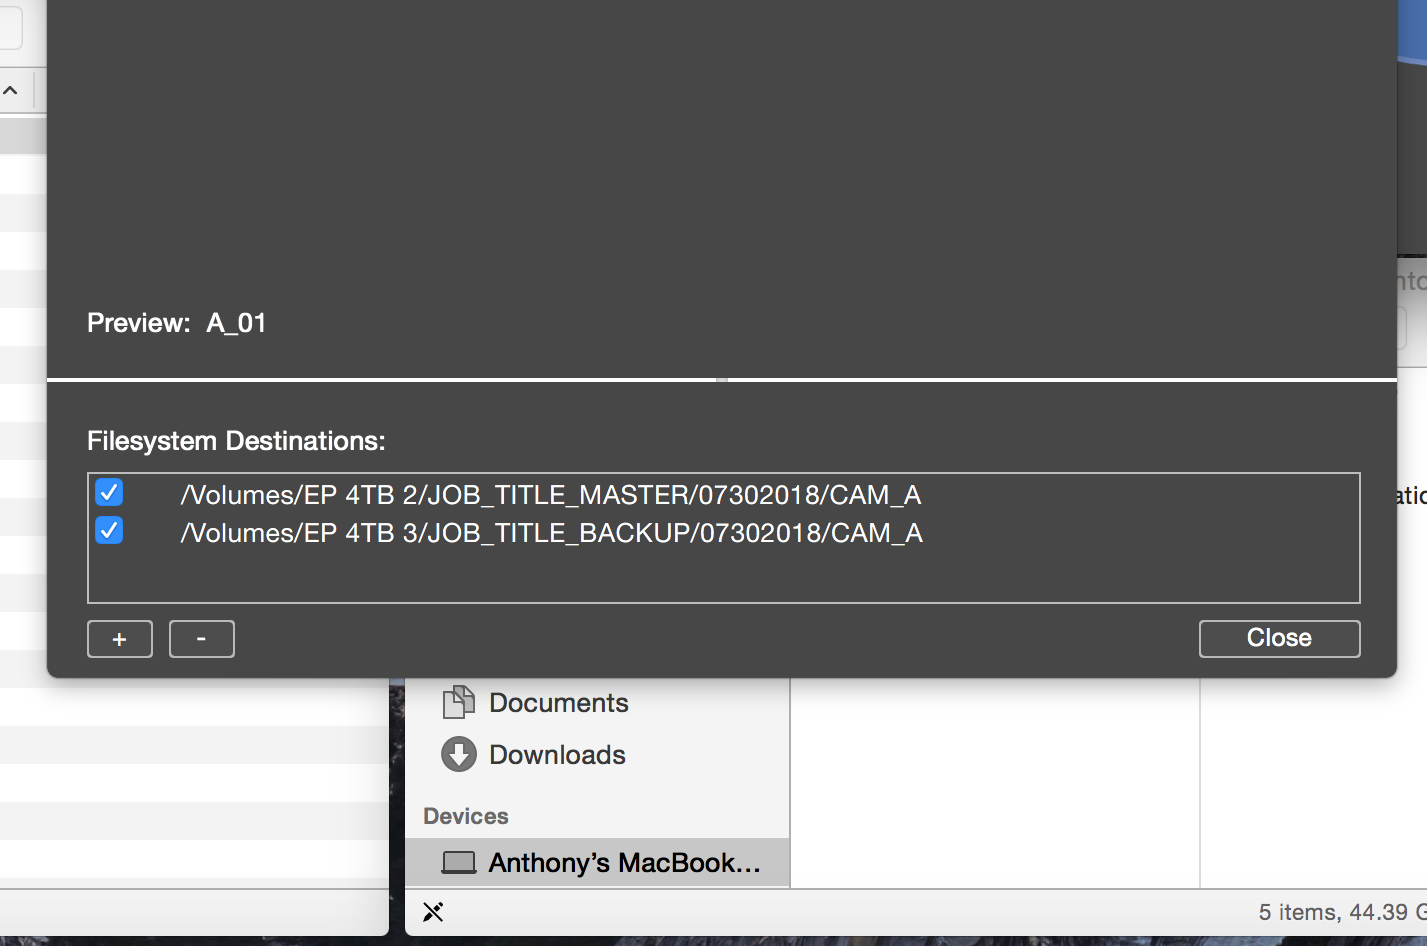
- Click the “+” sign under “Filesystem Destinations”.
- Make one Destination your “CAM_A” folder on your master drive.
- Make another separate destination in the identical place on your backup drive (“CAM_A”).
Once your destinations look like the screenshot below, click “Close” and repeat this process for any additional cameras you have playing on that day.
Next, we are going to set up what is arguably ShotPutPro’s key feature: Checksum Verification. Simply, a checksum is a process that compares and verifies that data on one source gets copied EXACTLY to a destination. This costs time and processing power, but offers peace of mind and assurance of a job done correctly and completely.
Checksum Verification in ShotPut Pro 6
- Select the gear icon in the very top left corner.
- Under “Verification Options” ensure the “Checksum Verification” button is checked
- Choose “XXHash-64 Checksum” from the drop-down menu. There are reasons to use other types of checksums, but for most purposes, XXHash is the way to go.
You are now set up for the day! With a few more simple steps, can download, back up, and verify footage to hard drives.
Downloading a Card
When you are handed media to download it should have a piece of red paper tape covering the terminal labeled with the roll number. Subsequent cards should be labeled in the same way and be handed to you in order (A02, A03, etc.). I won’t go too much into on-set protocol except to mention that you must communicate that no cards are missing or mislabeled.
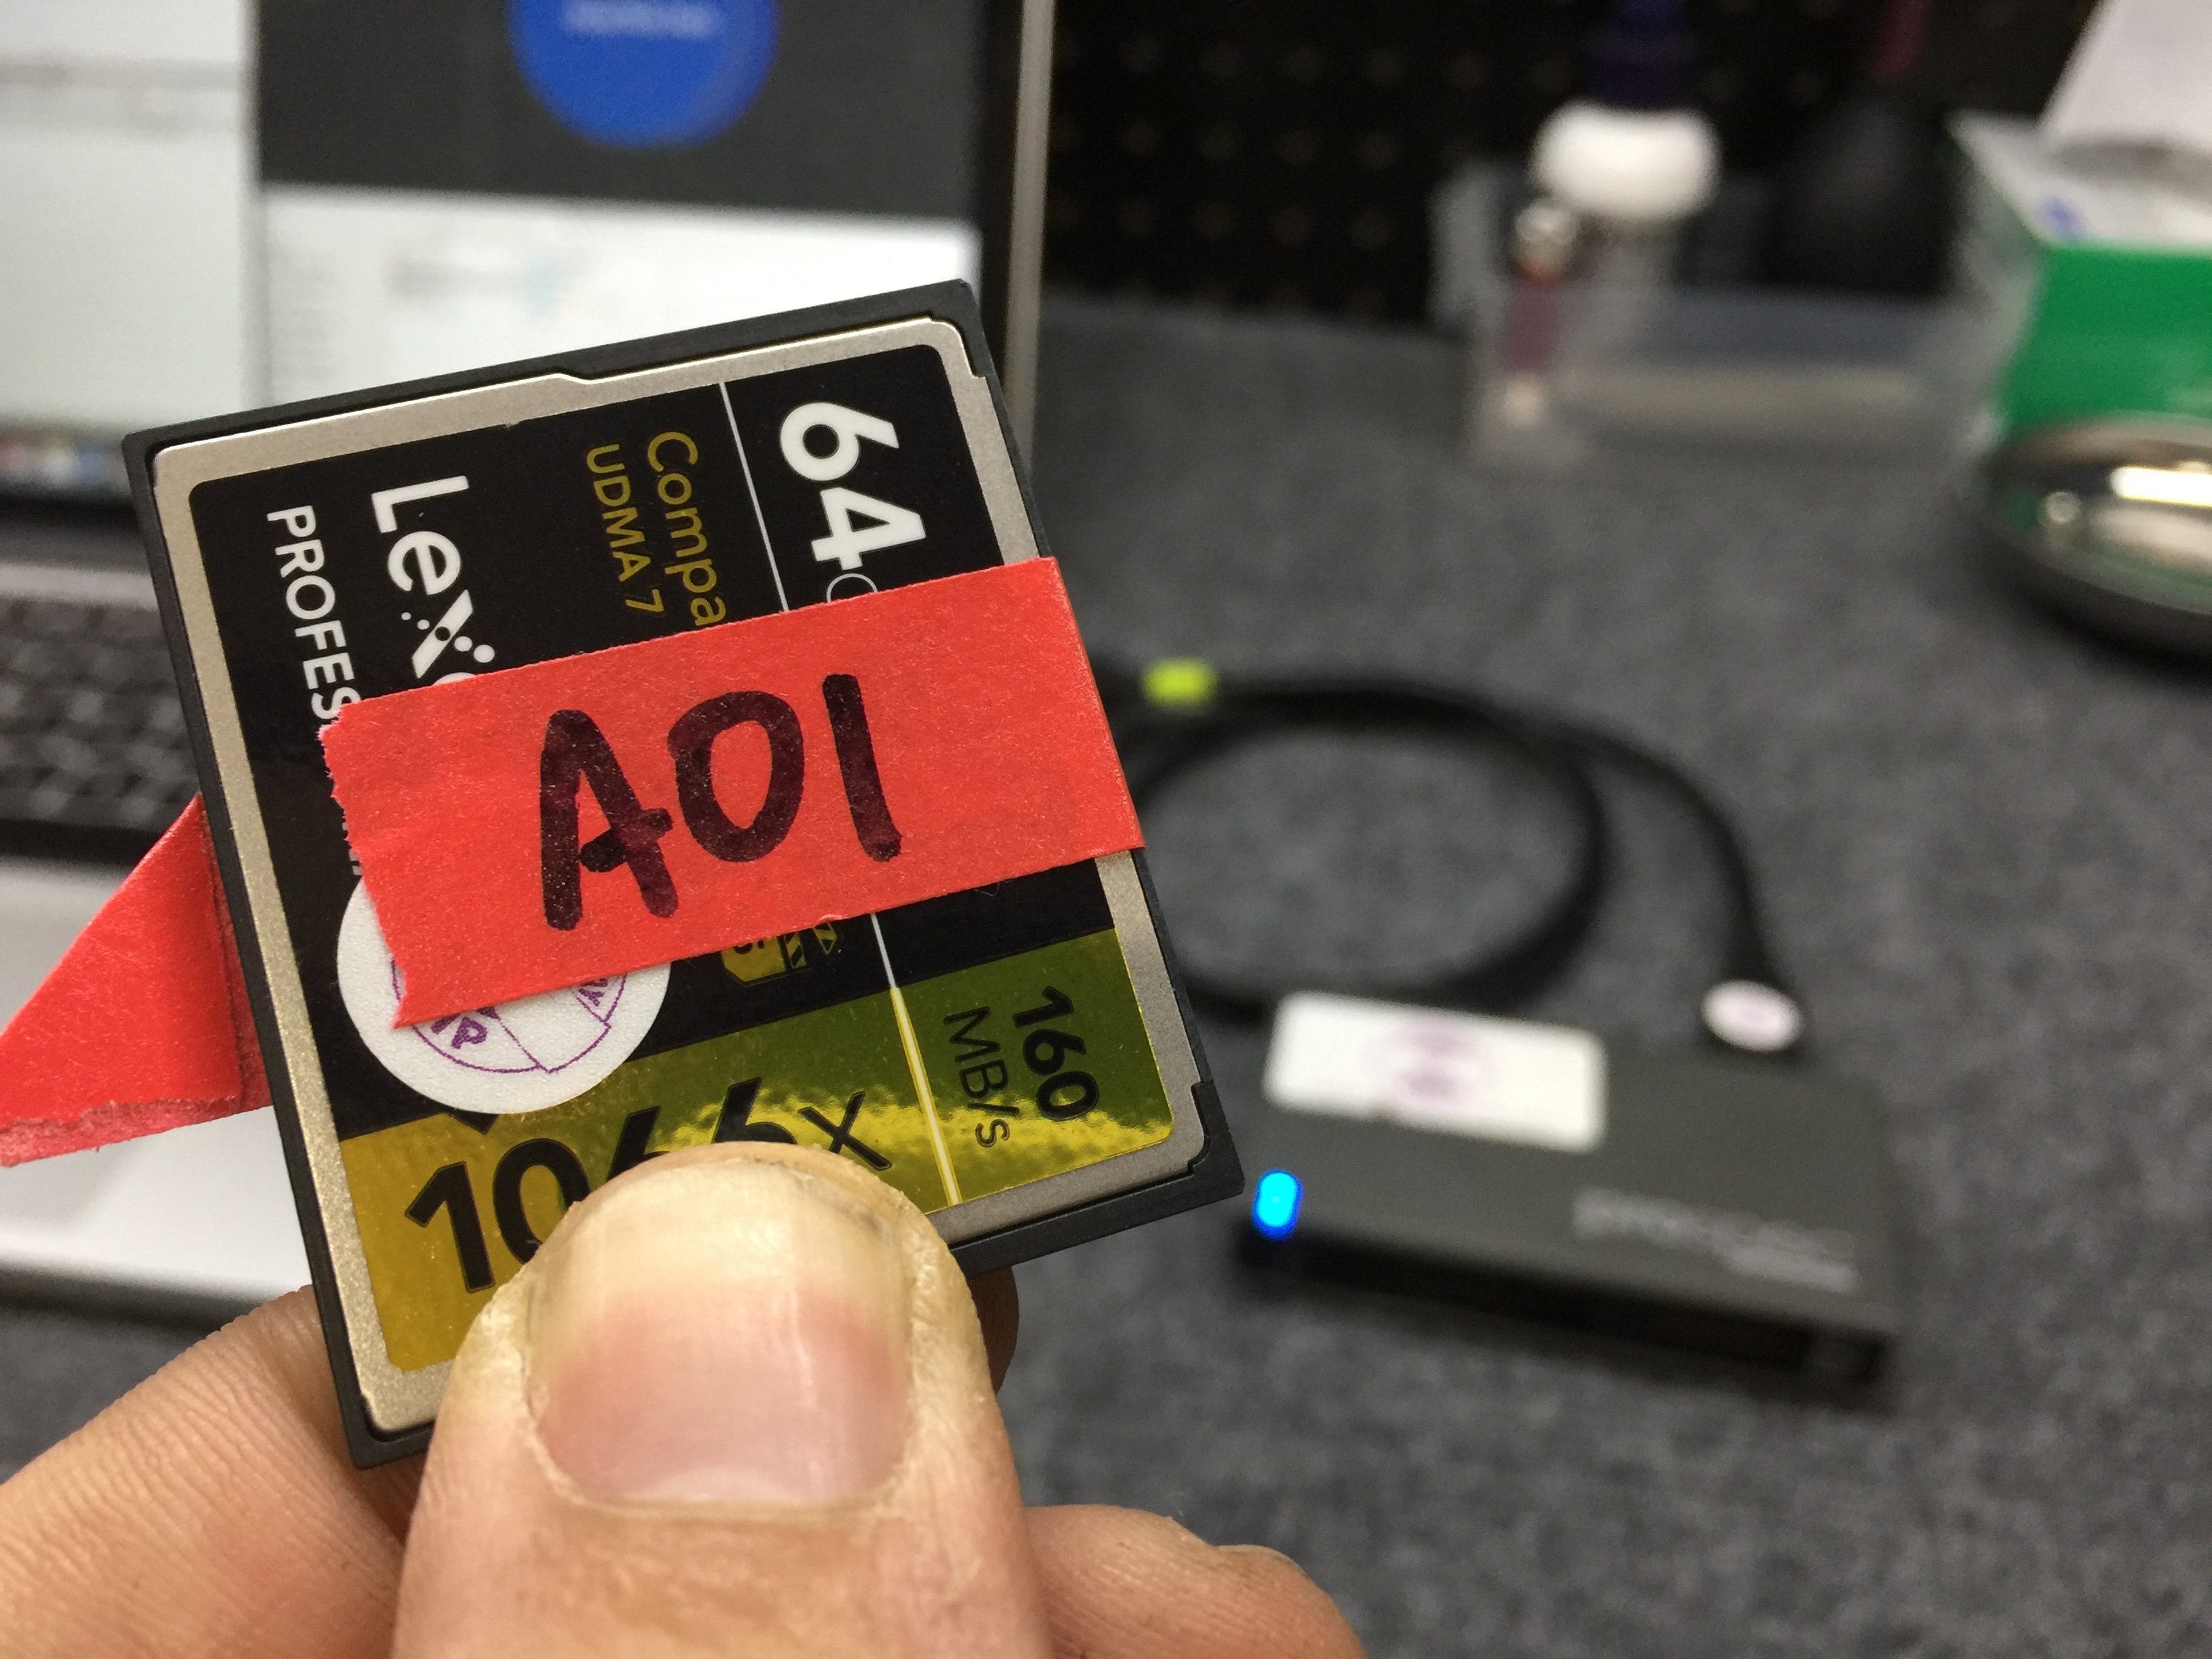
- Insert the media into your card reader.
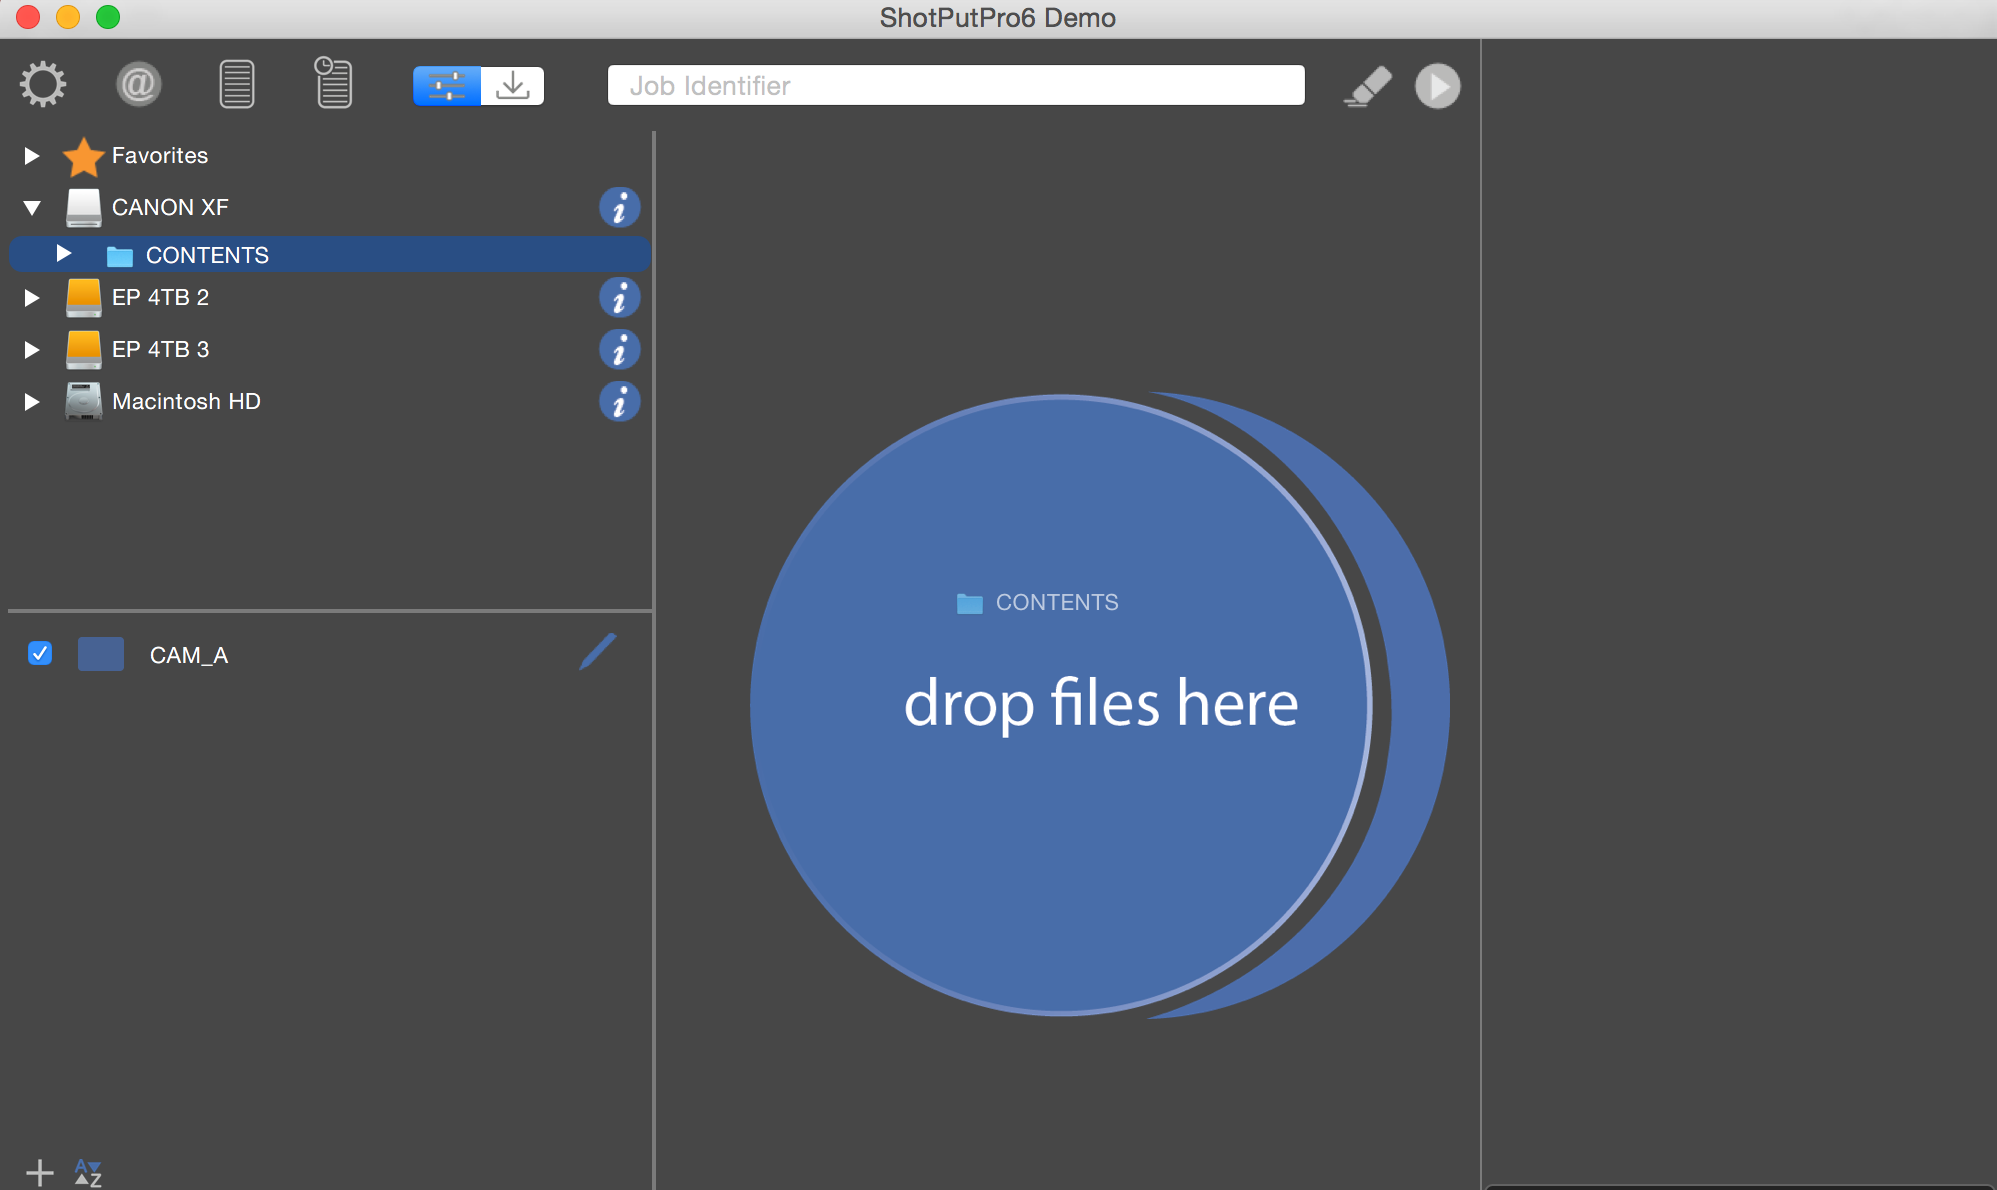
- When it mounts, navigate to it in the file browser in the top left, and drag THE ENTIRE FILE STRUCTURE AS IT EXISTS ON THE CAMERA MEDIA into the large circle in ShotPutPro that reads “drop files here”.
- Take another quick look at your destination to triple check they are going to the right spot and that the preset for where you want it to go is checked.
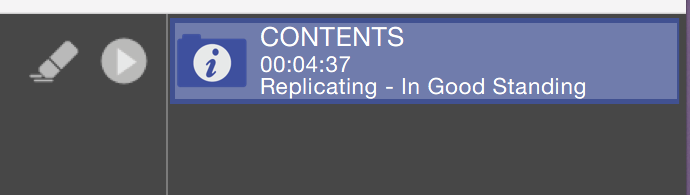
- Click the start button to start the transfer. The right-most column in the ShotPutPro window should have an indicator of time remaining and status “Replicating – In Good Standing”.
Now you wait! When ShotPut Pro is done, the bar should be green, and the status should be “Completed – Verified”.
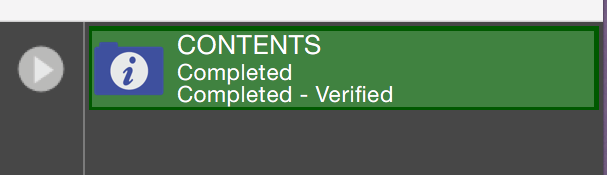
Anything other than this means something went wrong and your data is not properly transferred. Once everything looks good in ShotPutPro, confirm manually in Finder.
Checking for Proper Data Transfer in ShotPut Pro 6
- Verify by eye that the data amount matches between media, master drive, and backup drive and the data report has been created in the destination folders.
- In each of the drives, open some of the video files, scrub through them, and ensure that it is in good condition and there are no problems.
- Once you feel very sure the card is safely copied and backed up, format the card in your computer and eject it.
The card will need to be formatted again in camera, but when you hand it over and say “This media is OK to format”, you can be very confident that you’ve done your job properly and thoroughly.
There are many more details to be aware of when it comes to professionally managing media, but hopefully this gives you a good start regarding the basics of ShotPut Pro and lowers your blood pressure.
Written By: Anthony Zagarella

Anthony is a taker-aparter and putter-togetherer of camera stuff at Expressway, but there’s so much more to his life. He’s also a long-time South Philly resident, dog dad, D&D enthusiast, and probably some other stuff too but usually can’t remember.