Expressway Cinema Rentals is excited to announce the addition of the Matterport Pro2 to our collection of streaming & remote products. Take a tour of our Rochester Camera Rental House & The Annex Studio below:
Tech Specs
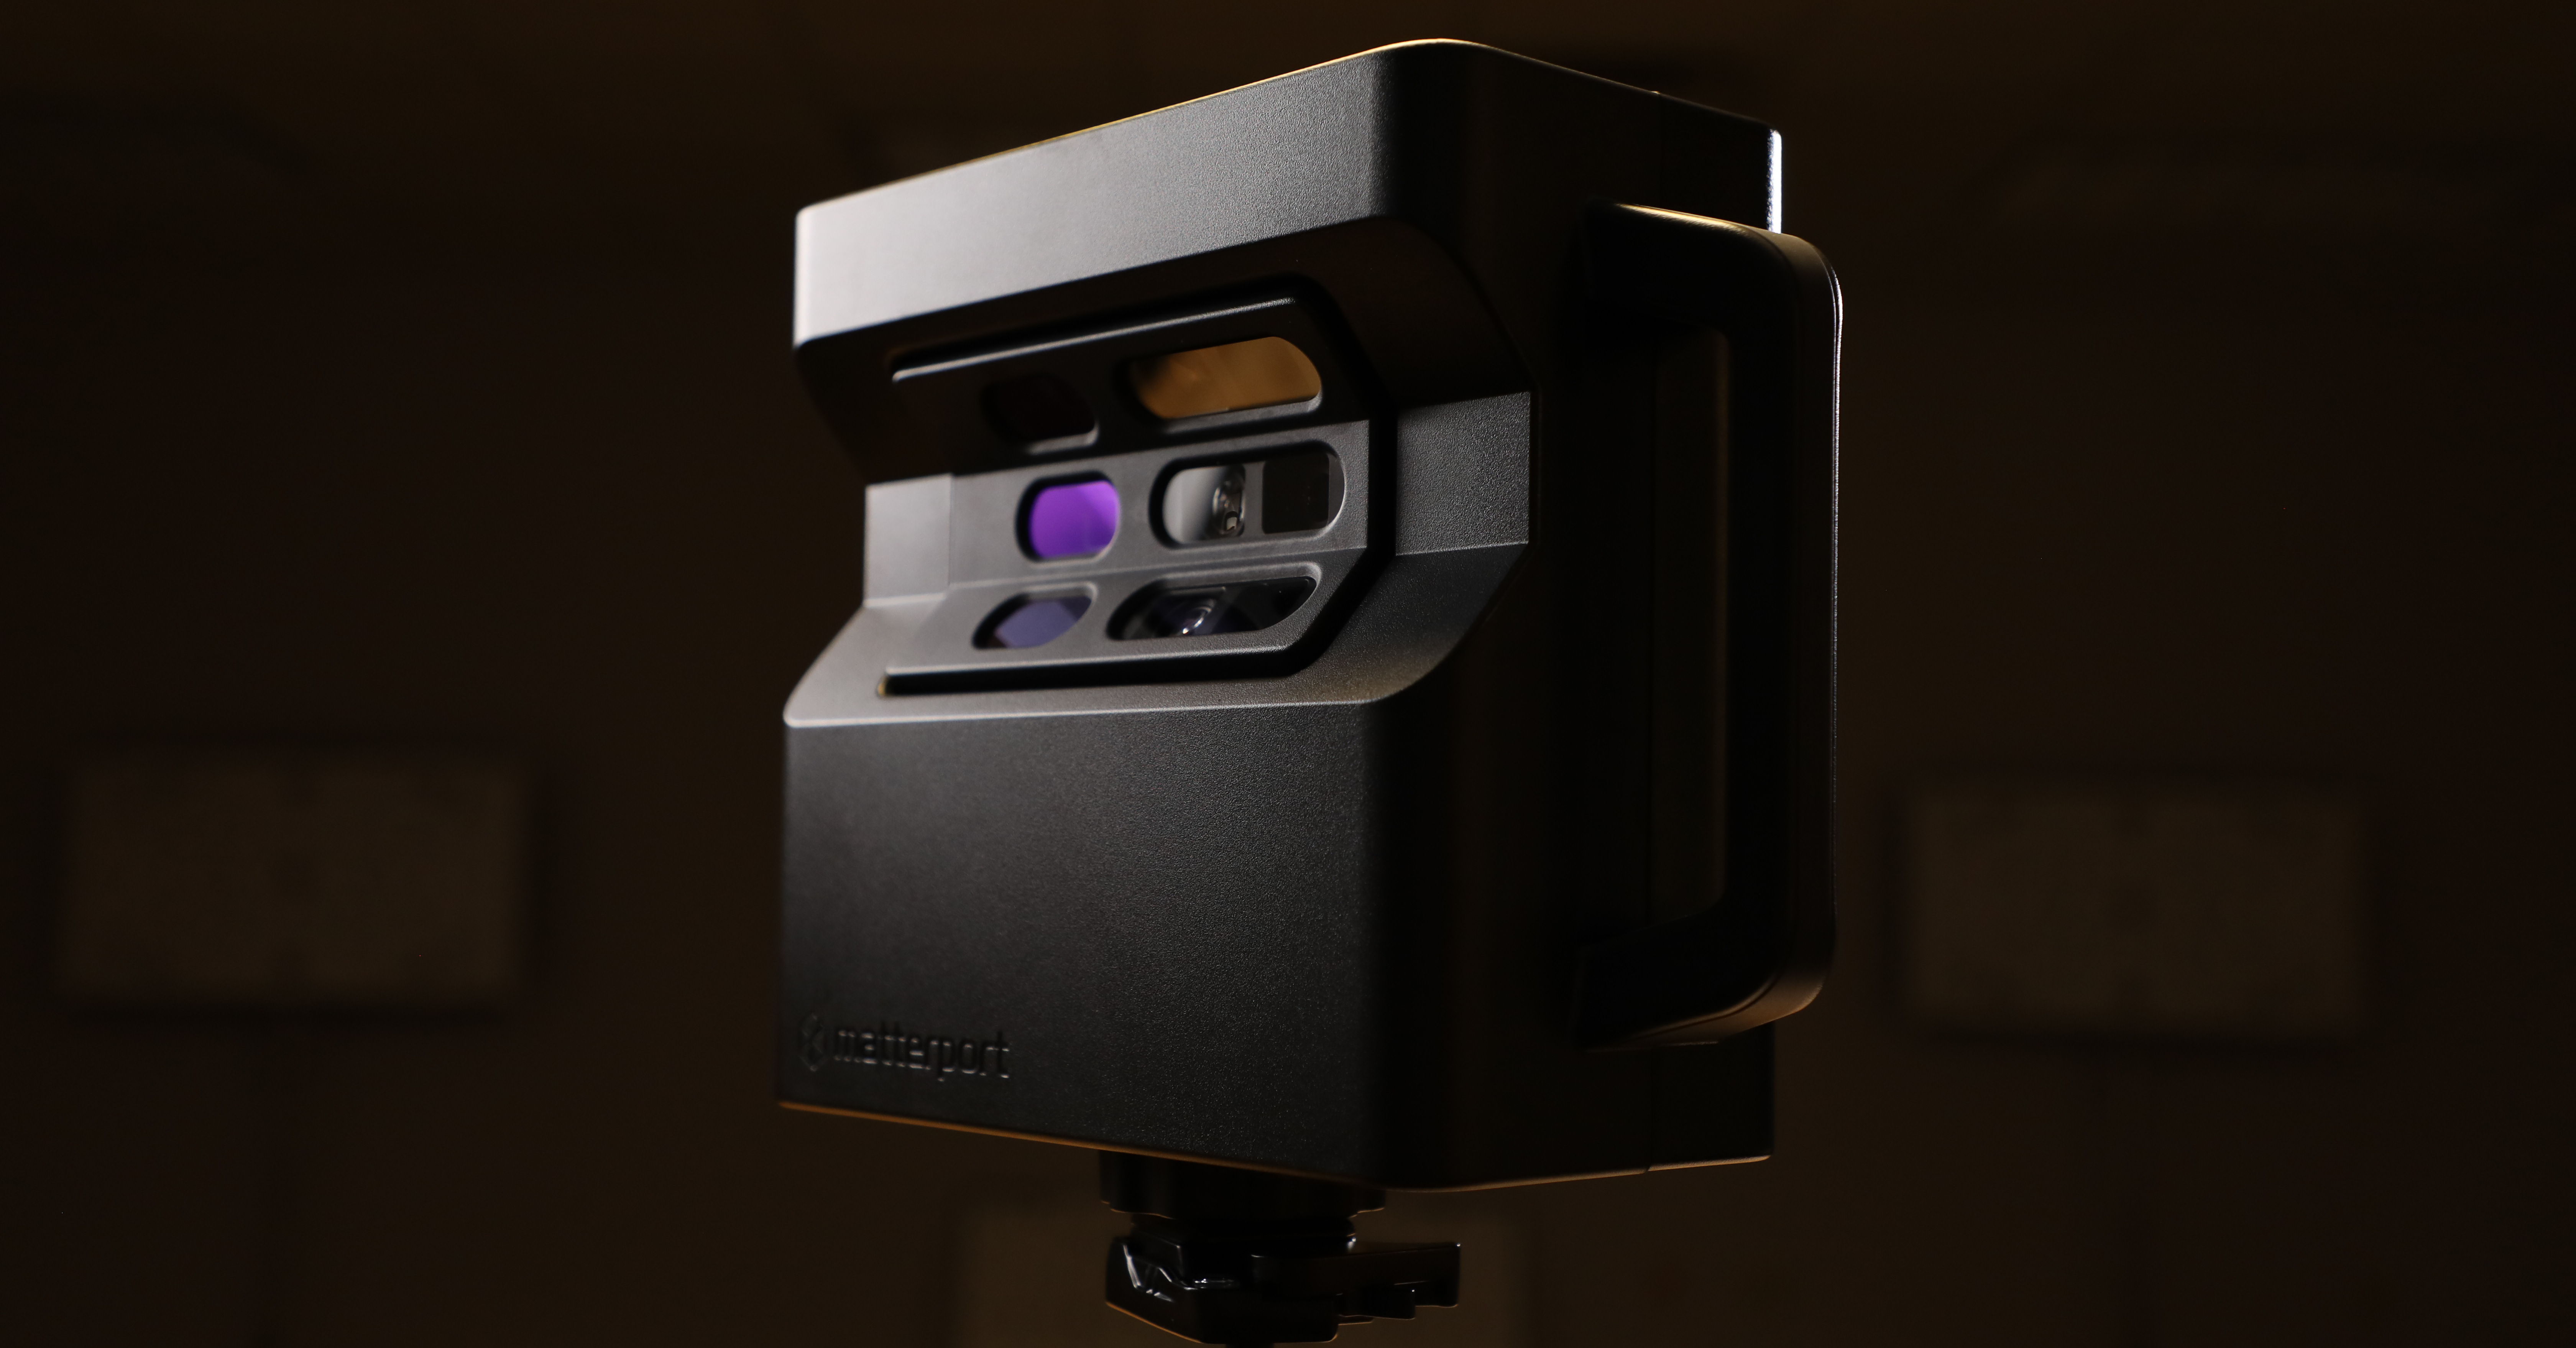
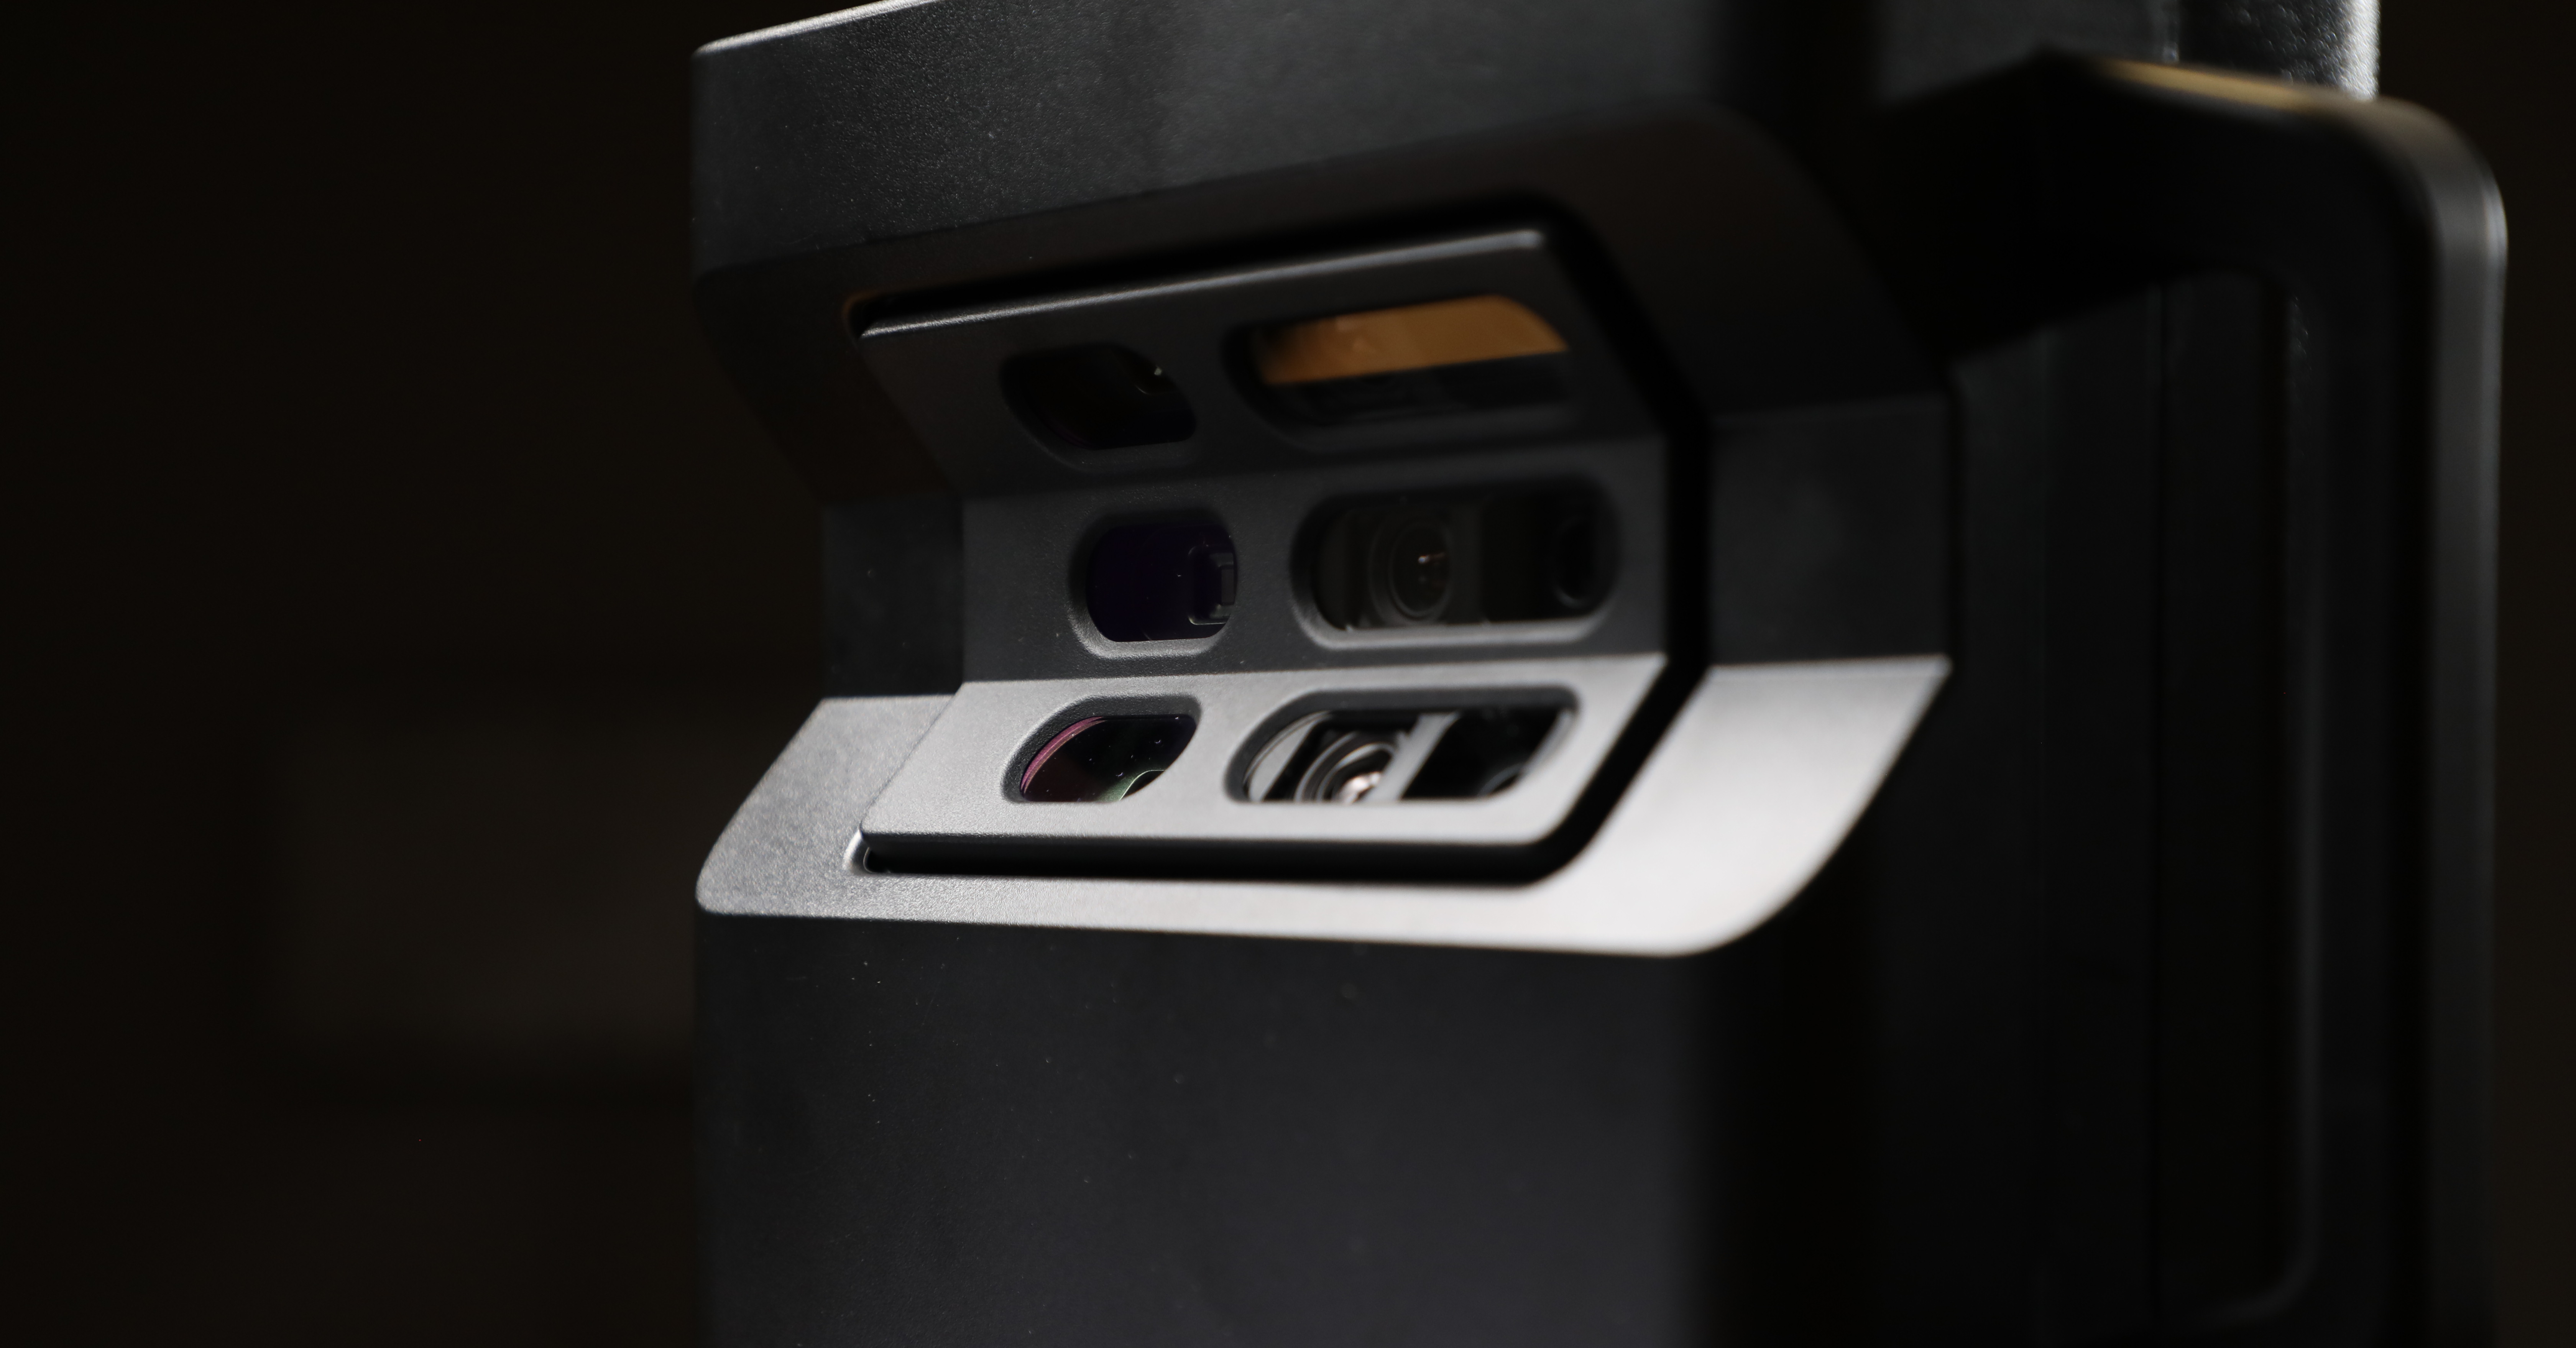
The Matterport Pro2 is a simple and easy-to-use tool in creating a hi-resolution, 3D rendering of any indoor space. It’s built with automated features and excellent image quality, making it perfect for virtual location scouts, real estate assets, engineering, and construction. Pairing lightweight hardware with user-friendly software, a single person can record, edit, and upload a space simply and quickly. No matter the size of the project, the Matterport Pro is the perfect device for high-quality, virtual reproduction of an enclosed space.
With a single capture, you get everything you need to market, inspect, or redesign a real-world space. With the Matterport Pro2 camera, you get great features like schematic floor plans, print-ready photographs, 3D files, and more. There’s also internal features like MatterTags to add detailed descriptions to a space. If you need to edit anything, there are edit tools for windows, mirrors, and faces.
Compared to Matterport’s other offerings, the Matterport Pro2 optimizes precision by capturing a maximum of 15 feet with 99% accuracy. Within 20 seconds, it captures a 360° horizontal and 300° vertical image used to build the final 3D rendering of your space. Containing a rechargeable lithium ion battery, the Matterport Pro2 can scan for 8 hours on one charge. This allows you to scan multiple spaces in a single day.
How to Use it:
All you need to get started is the Matterport unit, tripod, and an iPad (which is included in the rental!). You’ll be set up in a matter of minutes to begin the scanning process.
- Place the Matterport on a tripod head at about shoulder height.
- Open the Matterport Pro app and ‘Begin new project’.
- Power on the Matterport Pro2 and connect the iPad to the Matterport’s temporary network.
- Once you connect the iPad to the Matterport network, go back to the Matterport Pro application. The capture option will allow you to use the Matterport Pro with a ‘Ready to scan’ option.
- Choose the Matterport capture option in the app. Place the tripod at a location where you would like your clients to view the space from. Hit the scan button and ensure you are not captured in the scan.
- The unit spins for each capture, so you can either leave the room or stand behind the unit as it spins.
- The Matterport will begin to scan clockwise until it has done a full 360 scan.
- Move the Matterport around the room about 10-15 feet away from your last scan location to ensure the entire room is captured.
- When moving throughout a location, ensure each scan location is within eye view of the last so there’s a clear & natural path for your clients to explore the 3D rendering. Just as if they were walking through the space themselves.
- Once the space is completely scanned, there are options to mark details, reflections, and blurb to enhance the features of the final rendering.
- To upload, connect the iPad to a WiFi network and upload to the Matterport portal.
- Once the final rendering is completed, you will be able to completely access, edit, explore, and share the 3D rendering of your space!
Active Spaces & Pricing
For file storage and sharing, Matterport has many levels of subscriptions depending on the amount of active spaces and users you need! The most popular options being $69/month for 25 Active Spaces & 5 Users and $309/month for 100 Active Spaces & 20 Users. Expressway also offers to host your Active Space for $25/per month. A single active space can then be transferred to a free account for virtual hosting.
Let us know your needs and we’d be happy to walk you through the Matterport processes in further detail. We’ll also work to evaluate the best and most affordable option for your 3D renderings!